Table of Contents
Assembling Inductors: Tips for Beginners
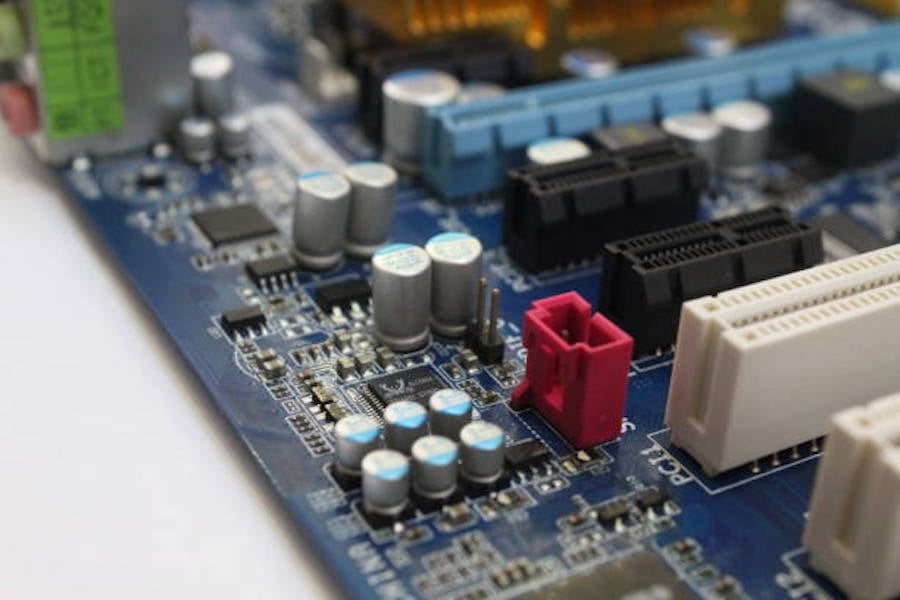
Understanding the Basics of Inductors
Before diving into the process of assembling inductors, it is crucial to have a solid understanding of what inductors are and how they work. Inductors are passive electronic components that store energy in the form of a magnetic field when an electric current flows through them. They are commonly used in various applications, including power supplies, filters, and signal processing circuits. Familiarizing yourself with the basic principles of inductors will greatly enhance your ability to assemble them effectively.
Gathering the Necessary Tools and Components
Assembling inductors requires a few essential tools and components. Firstly, you will need a soldering iron with a fine tip for precise soldering. Additionally, make sure to have a soldering stand or holder to safely hold the iron when not in use. Other necessary tools include wire cutters, needle-nose pliers, and a multimeter for testing the inductor's functionality. As for components, you will need a suitable inductor core, wire, and solder. Having these tools and components ready will streamline the assembly process and prevent any unnecessary delays.
Choosing the Right Inductor Core
The choice of inductor core greatly affects the performance of the assembled inductor. There are various types of inductor cores available, such as powdered iron cores, ferrite cores, and air cores. Each core type has its own advantages and disadvantages, depending on the specific application. It is essential to carefully consider factors such as frequency range, power handling capabilities, and size constraints when selecting the appropriate inductor core for your project. Researching and consulting experts or datasheets can provide valuable insights into choosing the right core for optimal performance.
Calculating the Inductance Value
Determining the desired inductance value is crucial before assembling an inductor. The inductance value determines the inductor's ability to store energy and its impact on the overall circuit. Calculating the required inductance value involves considering various factors such as the desired circuit frequency, current levels, and the specific application requirements. There are online calculators and software tools available that can assist in accurately calculating the required inductance value. It is important to double-check the calculations and ensure they align with your project's specifications.
Preparing and Winding the Inductor Coil
Once you have determined the desired inductance value and chosen the appropriate core, it is time to prepare and wind the inductor coil. Start by cutting a suitable length of wire, ensuring it matches the core's size and material requirements. It is advisable to leave some extra wire length for connecting the inductor to the circuit later. Carefully wind the wire around the core, making sure the turns are tightly packed and evenly spaced. Avoid overlapping or crossing the turns, as this can negatively impact the inductor's performance. Take your time and ensure the winding is neat and secure.
Soldering the Inductor Connections
After winding the coil, the next step is to solder the inductor connections. Begin by carefully stripping a small length of insulation from the wire ends, exposing the bare metal. Apply a small amount of solder to the exposed wire ends, ensuring the solder wets the wire evenly. Then, solder the wire ends to the appropriate terminals or pads on the inductor core, following any provided guidelines or markings. Take caution not to overheat the core or apply excessive force during soldering, as this can damage the inductor. Double-check the solder joints for any potential shorts or cold solder joints before proceeding.
Testing and Troubleshooting
Once the inductor is assembled, it is crucial to test its functionality before integrating it into your circuit. Use a multimeter to measure the inductor's inductance value, ensuring it aligns with the calculated value. Additionally, check for any potential short circuits or open connections using a continuity test. If any issues are detected, carefully recheck the assembly steps and troubleshoot accordingly. It is also advisable to test the inductor's performance within the circuit to verify its functionality under real-world conditions.
Ensuring Proper Handling and Storage
Proper handling and storage of assembled inductors are essential to maintain their performance and longevity. Avoid excessive physical stress or bending of the inductor's leads, as this can cause internal damage or alter the inductance value. Store the inductors in a dry and static-free environment, preferably in anti-static bags or containers. When handling the inductors, use appropriate ESD (Electrostatic Discharge) protection to prevent any potential damage from electrostatic charges. By following these precautions, you can ensure the assembled inductors remain in optimal condition for their intended applications.
Seeking Expert Advice and Resources
Assembling inductors can be a challenging task, especially for beginners. If you encounter any difficulties or have specific questions, do not hesitate to seek expert advice or consult reliable resources. Online forums, community groups, and electronics textbooks can provide valuable insights and guidance. Additionally, attending workshops or joining local electronics clubs can offer hands-on experience and opportunities to learn from experienced professionals. Remember, continuous learning and seeking advice are key to improving your skills in inductor assembly.